Would you spend five minutes to save your life?
Five minutes is all you need to make sure your fall protection harness can protect you. A lot of people don’t believe they are going to get hurt or die on the job. This is true especially when a site goes many days or weeks accident-free. All that preparation and double-checking can seem like tempting fate.
If you’re working at heights, you’re required by OSHA to use a fall protection harness - but a harness is only effective if you wear it properly. There are many variations of harnesses, and the loops and straps can be intimidating to a new user. It is entirely possible that you may be wearing yours incorrectly, or that the fit could use some adjustment.
The fact is, things break and wear out, whether they are used every day or sit in a locker for months. Construction safety is ongoing. It must happen before, during, and after every shift or operation. Yes, it may appear tedious or time-consuming - but it helps ensure that you and your co-workers get to go home at the end of the day rather than to a hospital – or worse.
Do you know how to make sure your harness fits properly? It’s more than putting it on and tightening the straps. Follow this guide so every piece of your life-saving equipment is ready to keep you away from danger.
Fall Harness Fit Step 1: Hold it
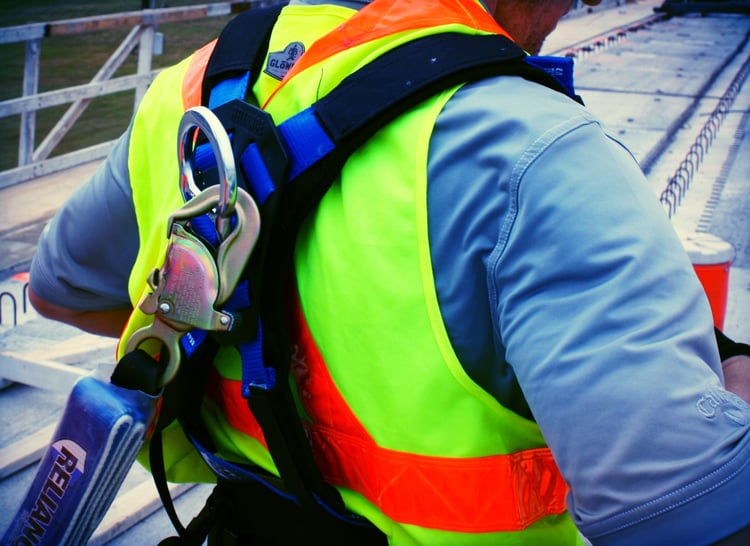
When you pick up your fall protection harness, hold it by the dorsal (back) D-ring. If there are multiple D-rings, find the one that sits in the middle of your back. Holding it in this way will let everything else – shoulder straps, leg straps, and chest straps – fall into place. Then, you can see where each component is.
This will also give you your first opportunity to inspect buckles and fasteners. That way, you can make sure they are all facing the right way and are not twisted or loose.
Fall Harness Fit Step 2: Shake it
While holding the D-ring, shake the harness to let all the straps fall downward. This will help you determine whether there are any loose straps or unfastened buckles.
Not up to date with all this fall protection lingo? Learn the industry terminology with our comprehensive Fall Protection FAQ Page!
Harness Fit Step 3: Inspect it
Look for worn or frayed webbing and cracked, damaged, or missing components. Ensure that the webbing is not abraded, burned, or torn, and that the D-rings and grommets are not misshapen, cracked, or otherwise damaged. Inspect the buckles to make sure the tongues are not bent and that the holes are not deformed. Check rivets for cracks and sharp edges. Do you have friction buckles? Make sure they operate properly during inspection, and check them again once you have donned the harness.
Give your inspection ritual some structure. Devise a route for your eyes and fingertips to follow. Your sense of touch can sometimes pick up signs of damage that the eyes overlook.
Fall Harness Fit Step 4: Wear it
Even if you already know how to put on a harness, sometimes bad habits can creep in. When that happens, your fit can be affected. Put your harness on over your shoulders, like you are putting on a jacket. The D-ring should rest squarely in the middle of the back between your shoulder blades. To adjust, slide the D-ring and plaque up or down along the webbing. It should never be off to one side, too low, or too high.
Shoulder straps should remain vertical and evenly spaced on the chest. Ensure the leg straps have been pulled snug and buckled properly. Attach the chest strap by passing the male buckle through the female buckle. This strap should be at upper chest level. Retain excess straps with keepers (if so equipped).
To tighten shoulders, pull up on the free ends of the vertical shoulder straps. To loosen, dis-engage the adjuster mechanism and adjust straps. Straps should be adjusted to the same length.
Stand up straight and adjusting the length of the shoulder straps to ensure there is no slack. Position the chest strap at mid chest. The harness should feel snug while still allowing full range of motion. Your harness should either be all the way on, or all the way off. Never walk around or engage in any work activity with any of the straps or buckles unfastened. While this may feel more comfortable, it is easy to forget that you are not entirely fastened in, and that harness isn’t going to do you any good when you need it if it is not fastened and properly adjusted!
Fall Harness Fit Step 5: Adjust it
Adjust any setting that feels too loose, too tight, or not centered. You should be able to fit two fingers under the leg straps.
Fall Harness Fit Step 6: Check it
Visually check the positioning of all straps. Use your fingers to examine every strap for snugness and ease of movement. Visually inspect the parts you can see, and - ideally - use a mirror to inspect the parts you cannot. If possible have someone else check it too, especially the back. You can do the same for them.
Remember, injuries can happen even after a harness saves your life in a fall. The pressure that the harness places on your body can seriously damage ribs, arms, and groin if the straps and buckles are too loose, are improperly placed, or have slipped out of place unnoticed.
Fall Harness Fit Step 7: Tuck it
Use the strap retainers and belt loops to hold excess webbing so that there are no loose ends. Loose ends can pose a danger if they are caught in moving parts or machinery.

Fall Harness Fit Step 8: Attach it
Attach your harness (and yourself) to your lanyard. Make sure to double-check distances from anchor points and the amount of clearance available under the work space. This is critical if you're using deceleration devices like energy absorbing lanyards and self-retracting lanyards. Many injuries occur as a result of miscalculating the amount of fall clearance required. This amount is often different from the distances involved with both horizontal lifelines and vertical lifelines.
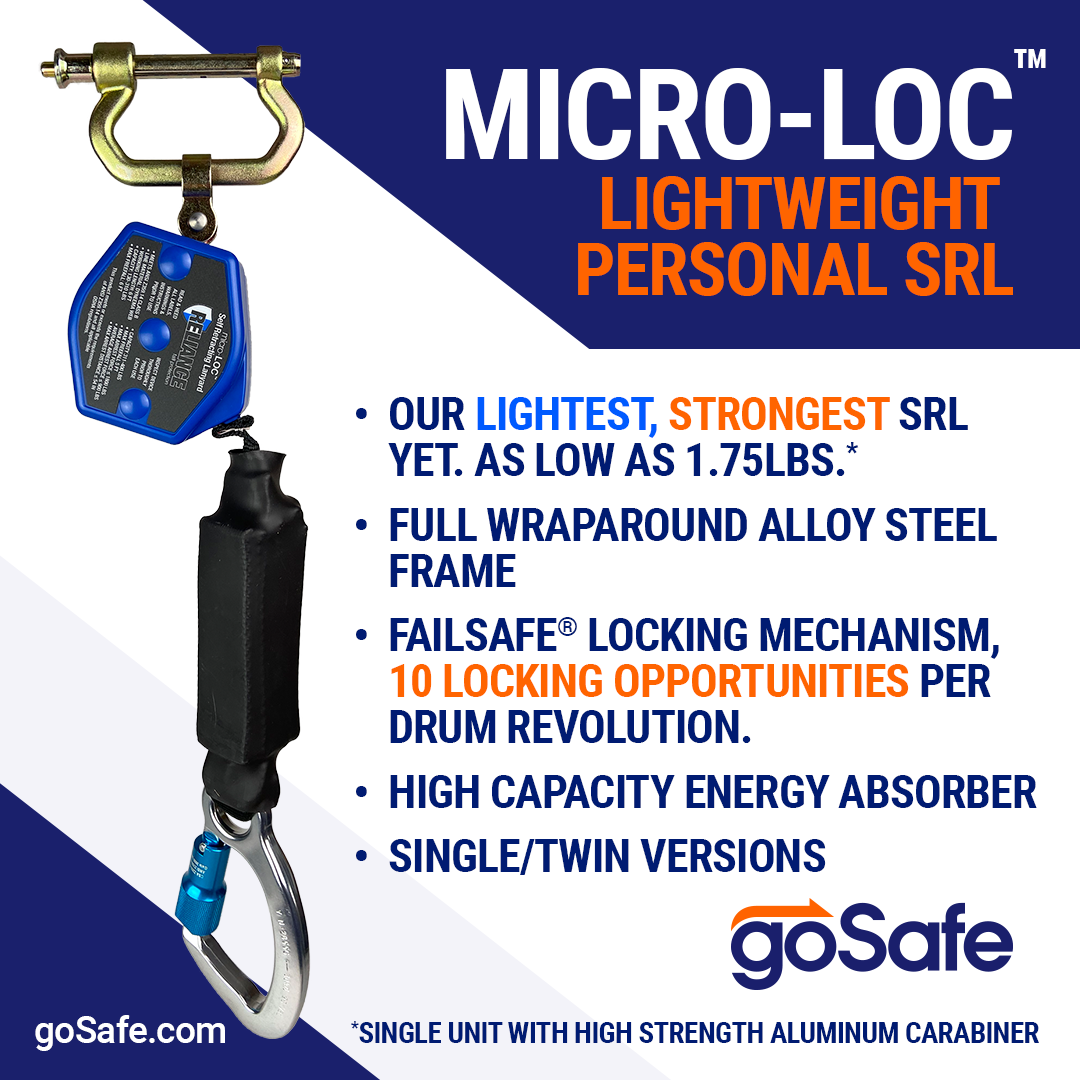
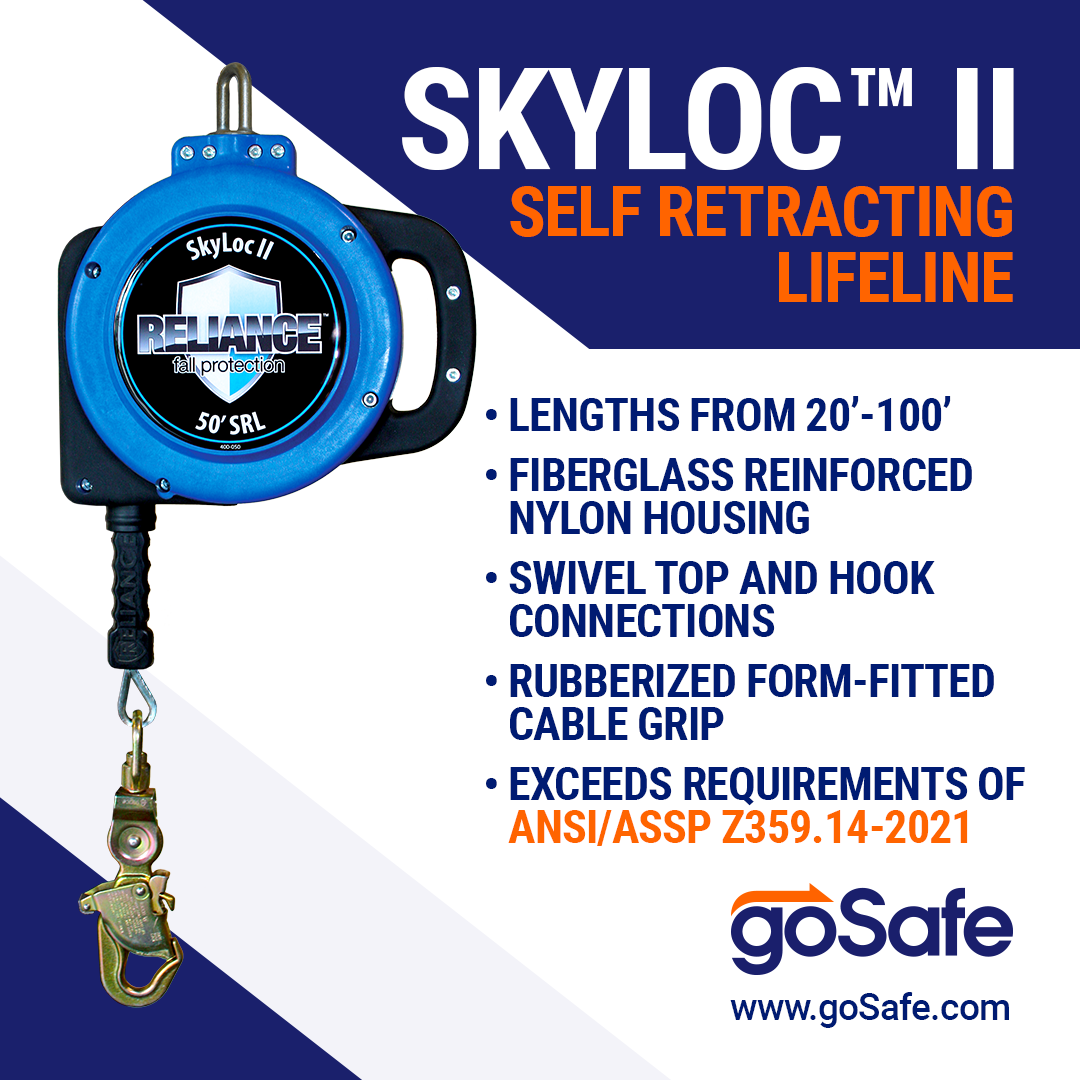
Do you need an energy absorbing lanyard or SRL? Check out our blog, "How to Choose the Right Deceleration Device: Energy Absorbing Lanyards Vs. SRLs"
Fall Harness Fit Step 9: Anchor it
Attach your harness to an appropriate anchorage device that is secured to a suitable anchorage point. OSHA requires anchor points and devices that will support 5,000 pounds per employee attached. That’s a lot of weight, as it factors in the forces of movement and deceleration generated during a fall.
Don’t forget, that 5,000-pound number is per person. Double check to ensure you and a buddy aren’t using the same anchorage.
Fall Harness Fit Step 10: Research it
Research your harness your options when it comes to choosing the right harness for you. This device might save your life one day.
Is it manufactured by a company that meets OSHA Regulations and ANSI standards? Does the manufacturer have a Statistical Process Control (SPC) program to ensure the quality of the raw materials and components? Has a reputable third party done testing on materials like webbing? Can they show you that the webbing meets the standards that call for 5,000 lbs tensile strength?
Need help picking the right harness? Check out our Ultimate Guide to Choosing the Right Fall Protection Harness to help you make the right decision.
These are questions you should know the answer to before any shift or operation.
Fall Harness Fit Step 11: Question it
Has your harness been involved in a fall before? If so, remove it from service immediately and replace it. Do you know for sure that it hasn’t? Follow the old rule: if in doubt, throw it out.
That might seem drastic, but your life depends on all the components of your harness functioning properly - even the small ones. When a harness cannot offer 100 percent protection to the wearer, it should not be utilized.
Fall Harness Fit Step 12: Learn It
Get physically trained on how to properly don a harness, and how to properly inspect it. Find out about certifications and annual inspections. Thoroughly read the instructions that came from the manufacturer. Don't forget to take time to watch instructional videos too.
Does Your Harness Have the Right Fit?
Your harness is your body’s primary protection against falls on the job site. The five minutes needed to make sure it fits properly are vital.
No job should begin before you know your harness is in working condition. Take the time to inspect your harness and put it on correctly. Those extra five minutes are a small price to pay for your safety.


